Install WordPress on VM in Azure
We continue our 4 part series on how to move your WordPress Blog to Azure VM.
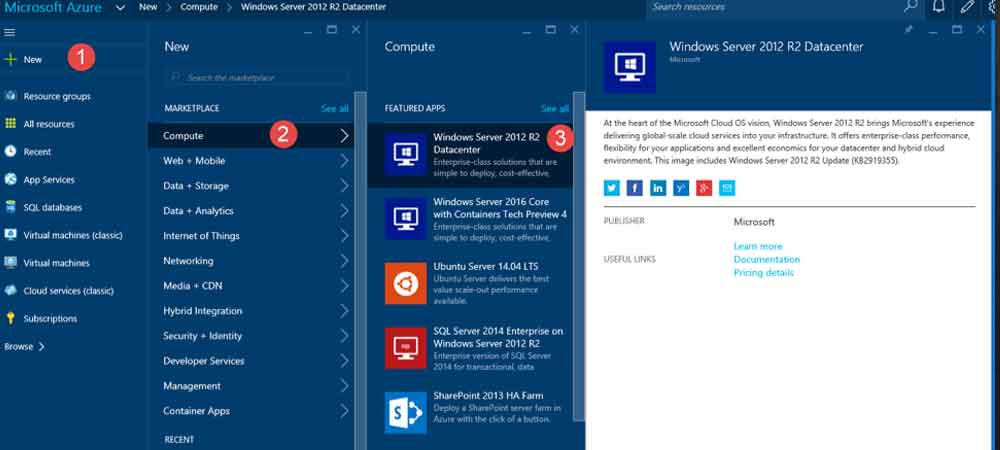
Please read Part 1 of this series if you have not done so already. Once the VM is created, you can connect using RDP and login using the username and password specified when creating the VM.
Installing WordPress on Windows means installing all the required pre-requisites including PHP and MySQL and configuring IIS to work with PHP among other configuration. It is best left to experts. Fear not, Microsoft provides ability to install WordPress when you use its Web Platform Installer (WebPI). So go ahead and download WebPI from here: http://www.microsoft.com/web/downloads/platform.aspx.
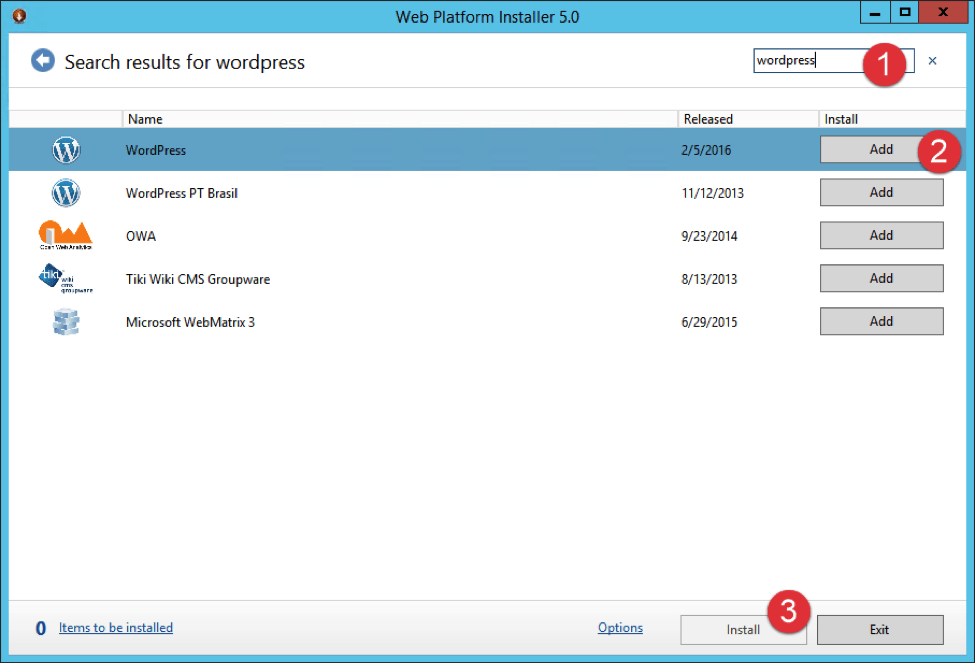
After a quick install, go ahead and launch the installer. Search for WordPress. Select WordPress from the resulting list and click install:
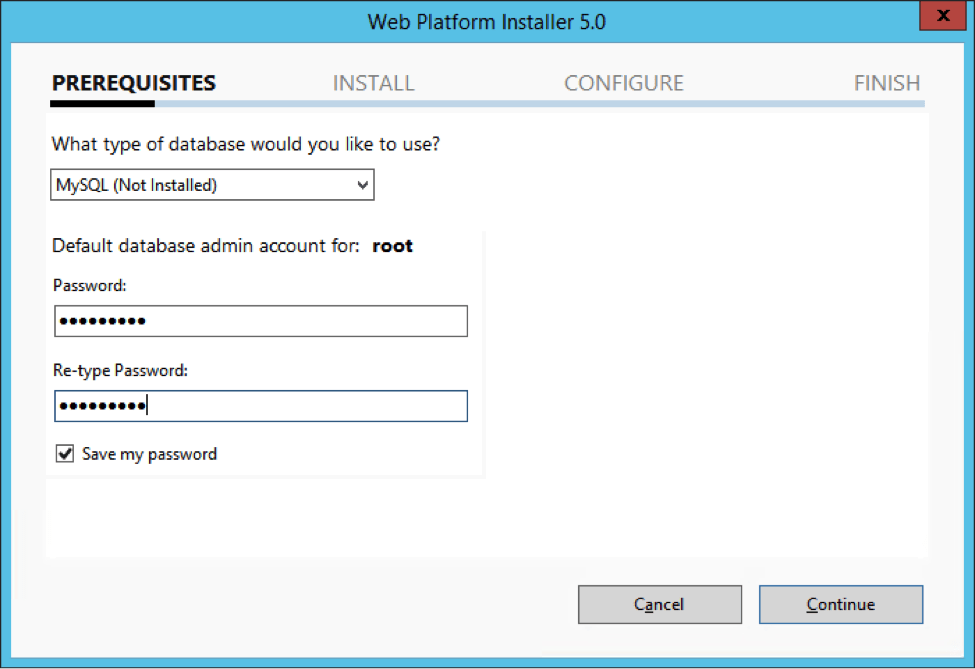
As you launch the installer, you will notice the Prerequisites option listing MySQL and asking for a password. This will be your root password for MySQL database management. Provide the password and click “Continue”.
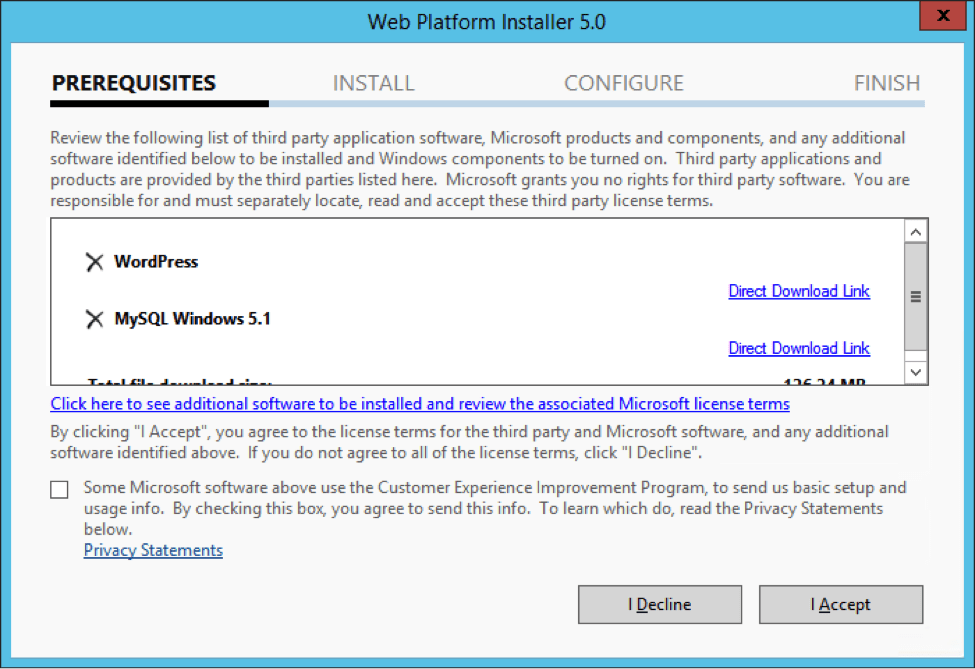
Next, you are presented with the license agreement screen. You are also provided with direct download links to WordPress and MySQL installers. Since installer takes care of downloading and installing required components, you don’t need to download them manually. Simply click “I Accept” to continue.

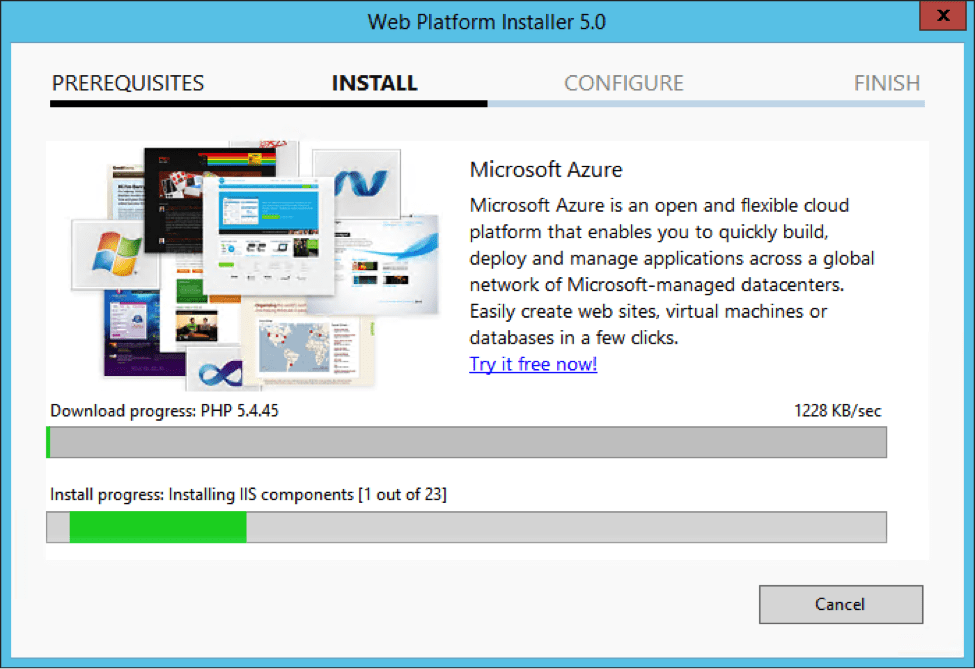
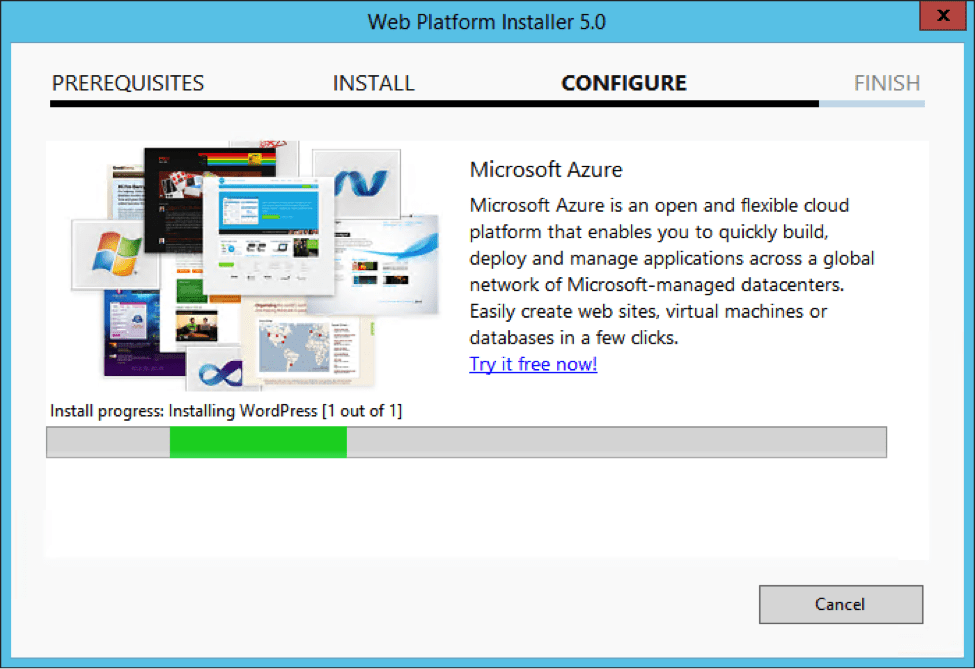
After accepting licensing terms, the installer downloaded and installs all required components:
As the installation is completed, the installer presents a configuration screen where I need to configure IIS first. I did not want to use the default website installed by IIS, so I chose the option to create a new web site. I also chose to install WordPress in root of the website. Provide other details as needed.

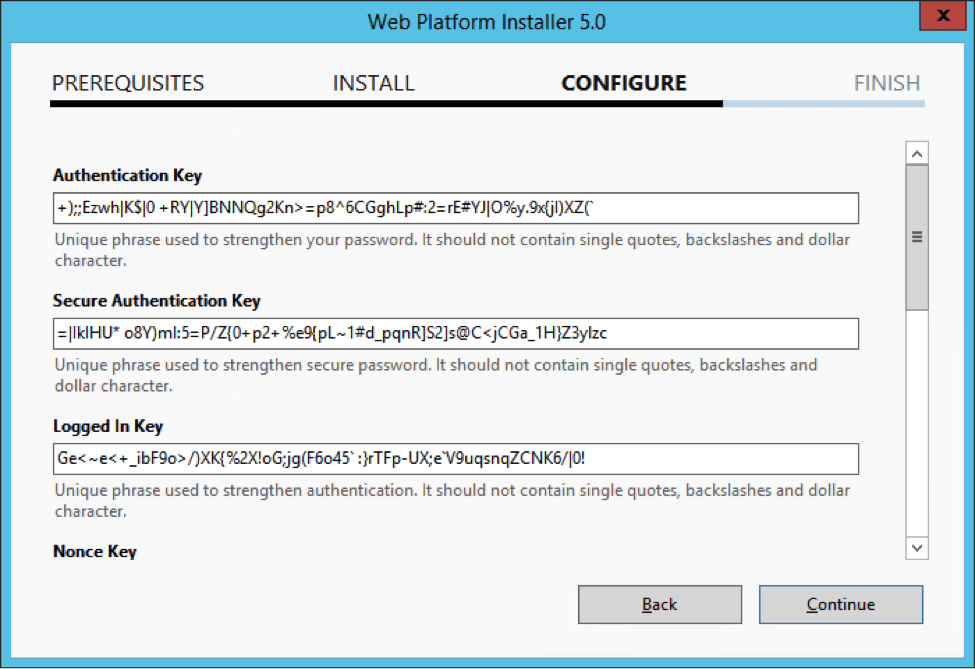
As you proceed to the next step, you may get a warning that the destination folder is not empty. I had just created the folder and was completely empty so I ignored the warning and marched on. Now, the installer will ask you to provide all the keys and salt WordPress uses to secure your configuration. To create the random strings you will use for keys and salt, head over to https://api.wordpress.org/secret-key/1.1/salt. Copy the keys and salt strings generated and use your favorite text editor to find and replace and single quotes, backslash and dollar symbol with any other alpha numeric character of your choice. The installer does not accept it and will throw an error. Create another set of keys if UI refuses to accept the keys that does not contain characters mentioned above. I had to try twice before it accepted the keys I provided.
After providing the keys and salt, the installation pressed on to install WordPress:
And finally, I was presented with completion screen: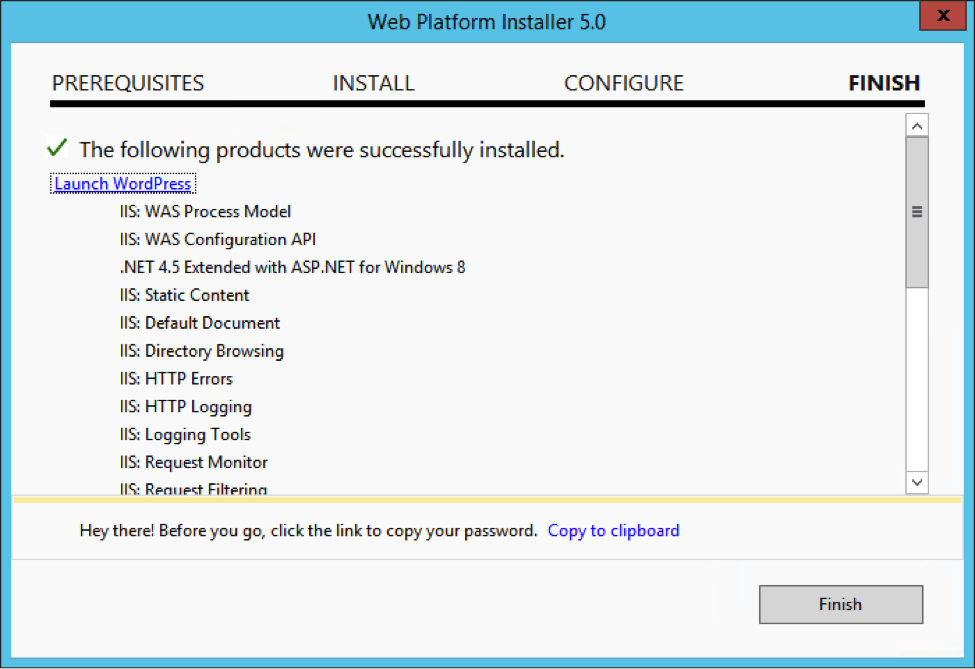
Notice the “link to copy your password” option at the bottom. I strongly suggest you don’t skip this step as it contains WordPress database name, database username and password. You can retrieve this information from wp-config.php later, but it is better to be proactive!
Once you click finish, the installer will launch your website. At this point, since we are migrating from an existing blog, DNS would still be pointing to your web host and not Azure VM. Until you have completed migration of content and database, I recommend using hosts file on Azure VM to point to loopback so you can test in isolation until everything is verified. Until you perform this step, you will be looking at your published blog instead of the WordPress install page. Also, WordPress can redirect your domain (i.e. contoso.com) to configured URL (i.e. www.contoso.com) but the configuration won’t work until you configure your domain as accepted host header in IIS. Installer allows you to configure only one host name. Just change bindings of the website hosting your blog in IIS:

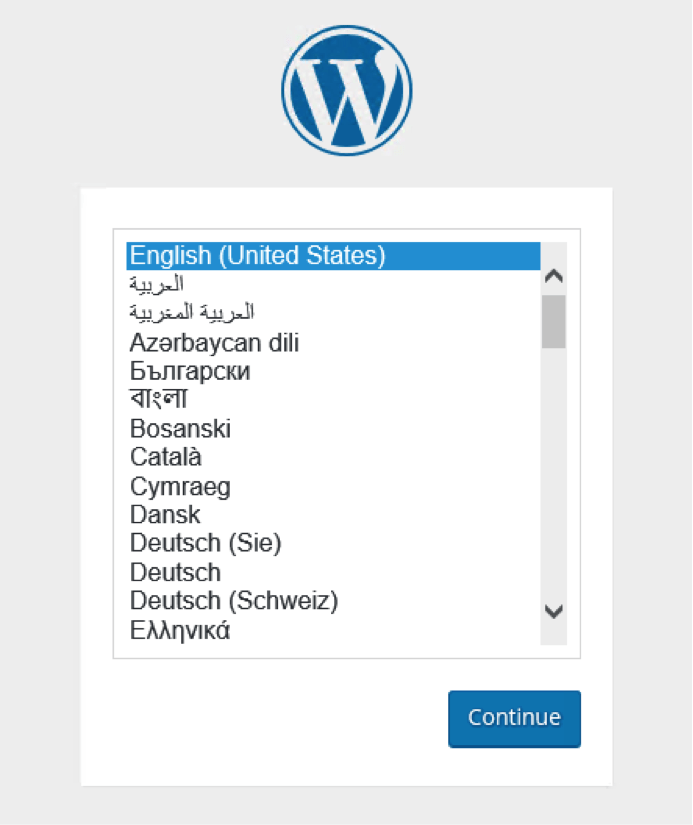
If you configured hosts file or changed DNS to point to Azure VM, you should be presented with a WordPress language selection page:
Continue and you will be greeted with WordPress site and user information page. Provide required information:
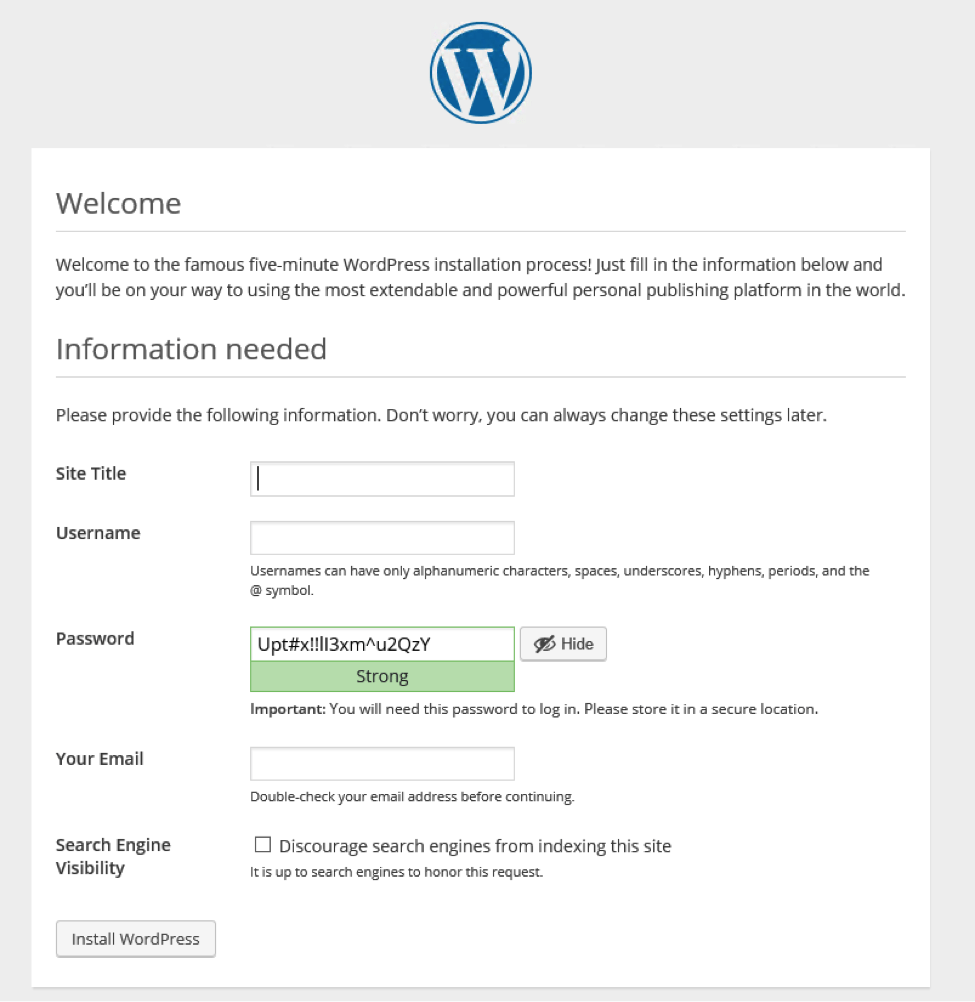
Since the purpose of this article is to move an existing blog, you can provide the same information here or provide anything you like as in next step, we will be overwriting this information with backup of the existing blog anyway. Proceed with install here and after successful completion, you will be able to log on to the blog with the admin user and password you chose in previous step.
In the next steps, we will back up the existing WordPress site and restore it to Azure VM.
